International Standards 3-Point Bending Test:
ASTM D790 - DIN EN ISO 178 - ISO 178 - a.o.
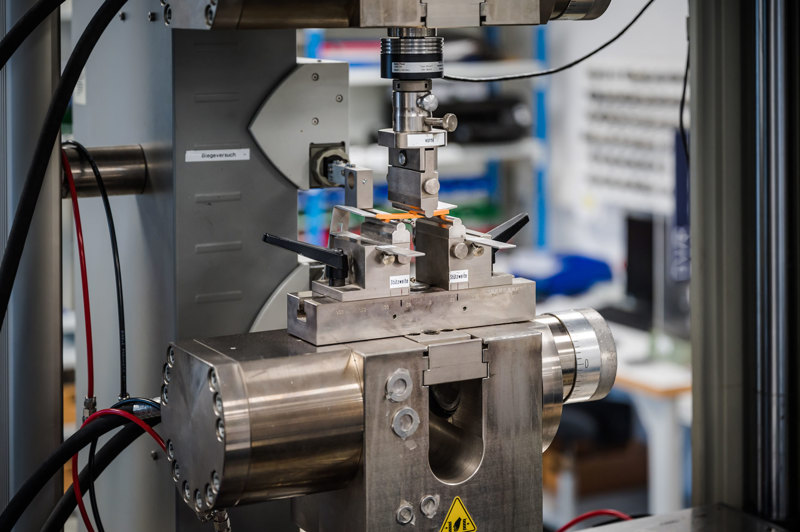
For the 3-Point Bending Test, our laboratory has a universal testing machine with load cells in various force ranges up to 150 kN.
As a deflection measuring device, we use a displacement transducer with the highest resolution, which meets the accuracy class 0.5 (ISO 9513). The use of a two-point sensor makes it possible to determine the deflection free from the effects of machine compliance and, in particular, to determine the bending modulus precisely and correctly.
With our equipment, we are able to accurately test the flexural strength, flexural modulus and other aspects of the flexural stress / flexural strain relationship of plastics and their compounds.
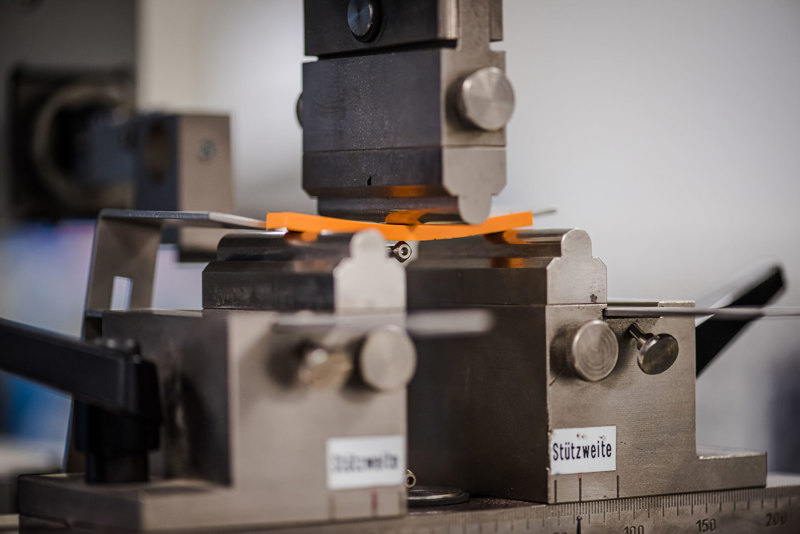
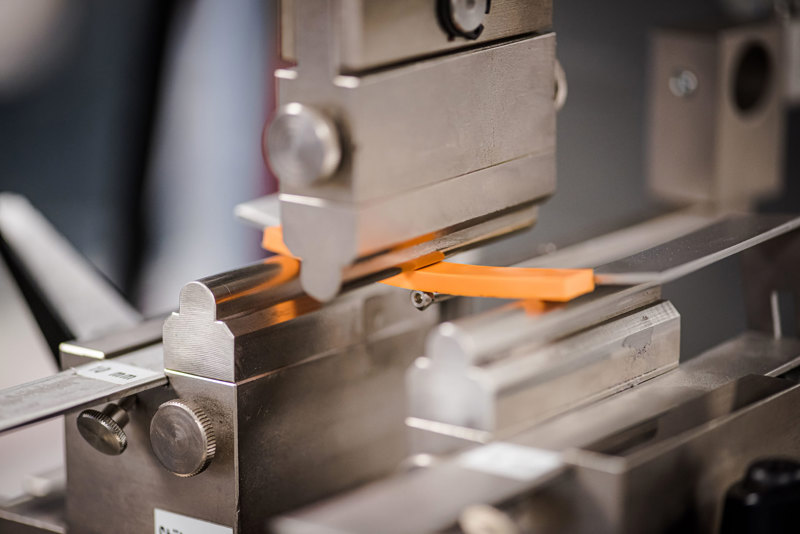
The 3-point bending test is a material testing method in which plastic samples are examined with regard to their bending behavior. A standardized, beam-shaped specimen is supported on two supports, while a force perpendicular to the specimen is applied in the center. The resulting deflection generates stresses in the material, which are used to determine the bending properties. The measurement is made until the specimen breaks or until a specified deflection is reached.
The 3-point flexure test is an important method for the characterization and quality control of plastics.
International Standards Dynstat Bending Test:
DIN 53 435
The Dynstat-Bending Test is a test method for determining the bending properties of plastics under a 4-point bending load. A Dynstat specimen is clamped in a bending device consisting of 2 support devices and loaded at a constant rotational speed until it breaks or the specified maximum bending angle is reached. The stress generated in this process is determined and is considered a measure of strength or toughness under quasi-static test conditions.
Due to the small size of the Dynstat specimens, this method is preferably used in finished part testing.
This characteristic value is used for quality control and comparison of plastics with each other. When making comparisons, care must be taken to ensure that the dimensions, pretreatment and test conditions are consistent. In addition, the influence of production-related microstructural differences in the finished part on the measurement results must be taken into account during sampling to ensure comparability of the results.


